
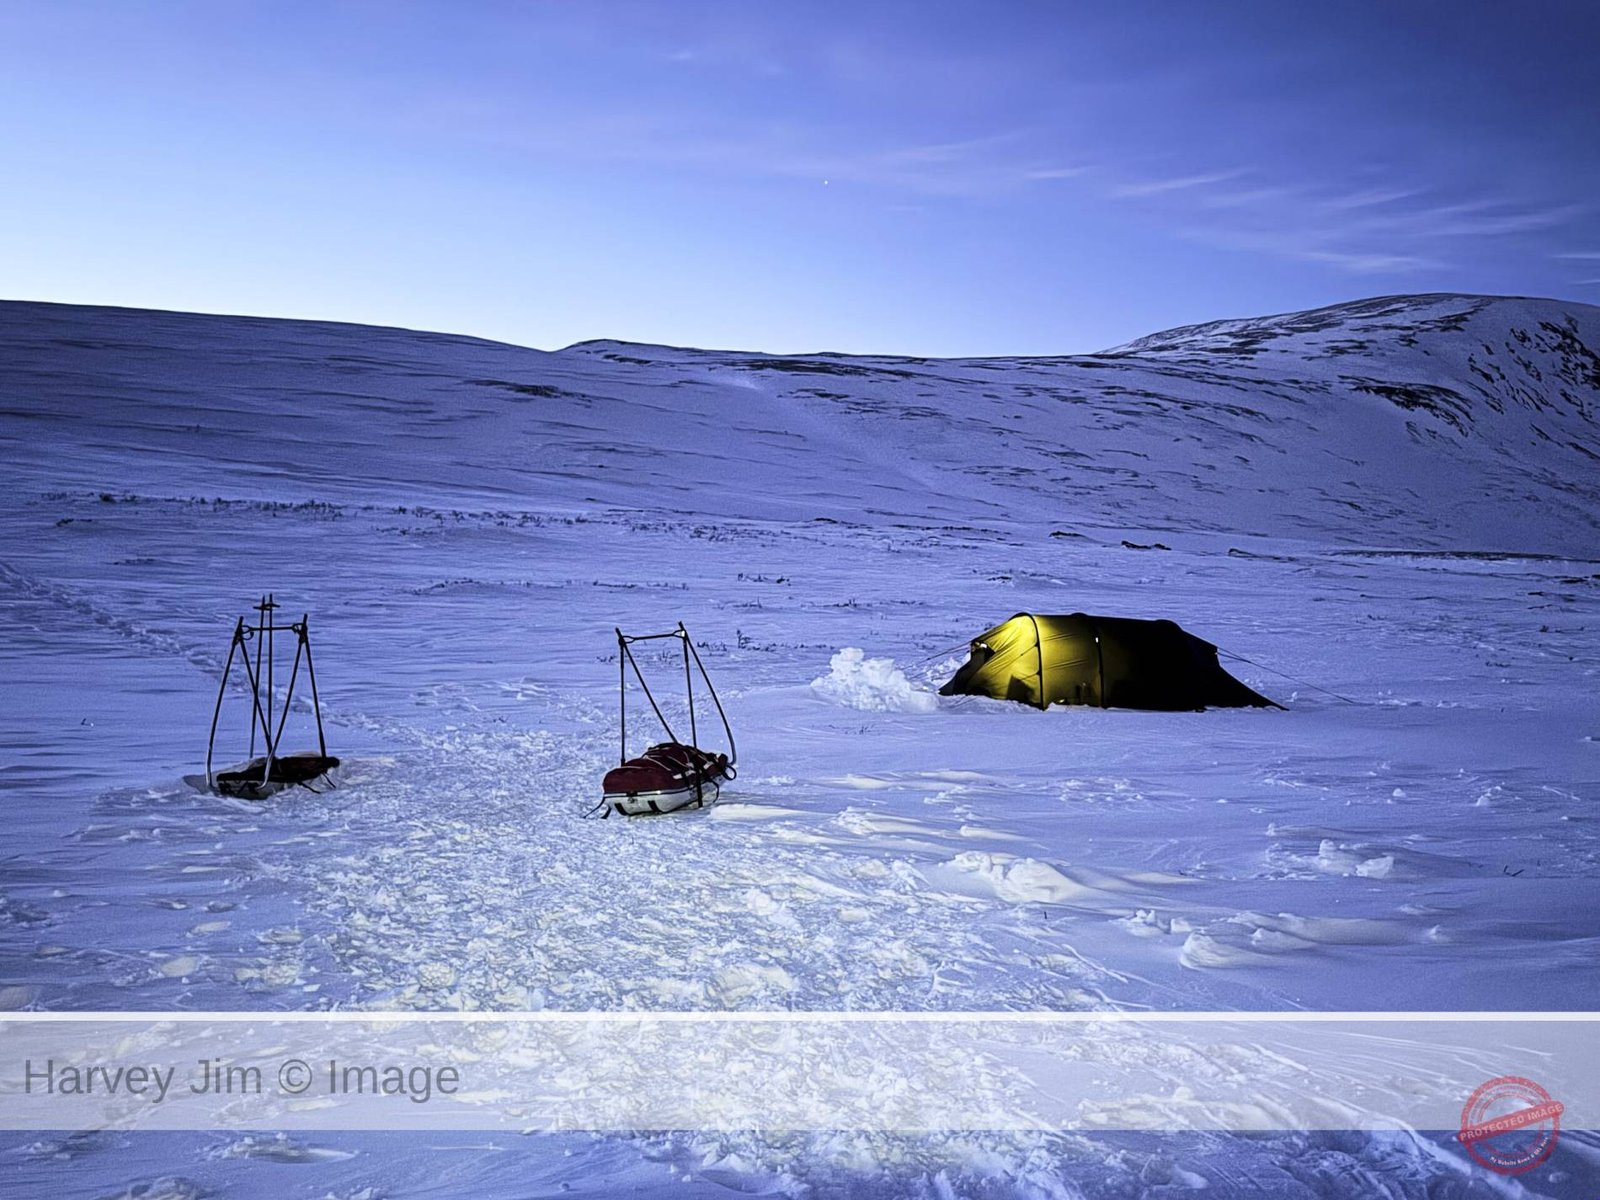
Tents and sleep systems - first in an occasional series on winter gear.
One thing about winter camping is that there is no way to do it on the cheap or without a ton of stuff. Prior to dog sledding/camping in Minnesota in temperatures well below zero (read about it here) and camping/trekking in the Norwegian mountains (read about it here), I had virtually no experience with real winter camping. I had almost none of the gear required for such an endeavor, so had to somehow figure out what to get, get it and get it organized for the trip. So, if you’re a gear head like me, this one is for you. I’ll provide an overview of some of the major items, but not an in-depth gear review on any of them. If you’re not a gear head, but are interested in what it takes to survive at temperatures around 0F/-20C all day and all night long, this one is for you. If neither of those interests you, visit my photo essay on biscuits here – that’ll make you happy!
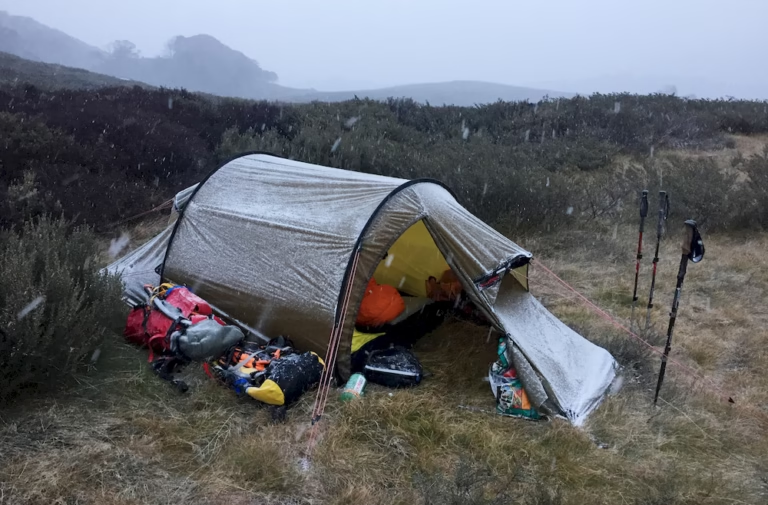
Gearing up for a winter adventure is not for the faint of heart or wallet. My first recommendation is to borrow if at all possible. For anything you can’t borrow, do your shopping in the summer, when one can usually find deals on winter gear. Also, buy used where possible (Facebook marketplace (the only reason I use Facebook) and eBay are both good options). While anecdotal only, I have purchased multiple items from both places and never had a problem (I wouldn’t buy a thermonuclear reactor off of ebay, but well known and researchable gear of less complexity should be fine). And finally, buy stuff that you can sell on the used market if you decide not to stick with the whole freeze your ass off thing. The fun doesn’t end with paying for it – then you have to store it somewhere, and there will likely be a lot of it, so be sure you’ve got room. Of course, if there is travel involved, you’ve also got to get all of this stuff to and from wherever it is you’re going. The difference with deep winter vs. temperate climes is that mistakes and mishaps are much more likely to threaten life and limb, so proper gear is critical. Like I said, not for the faint of heart or wallet.
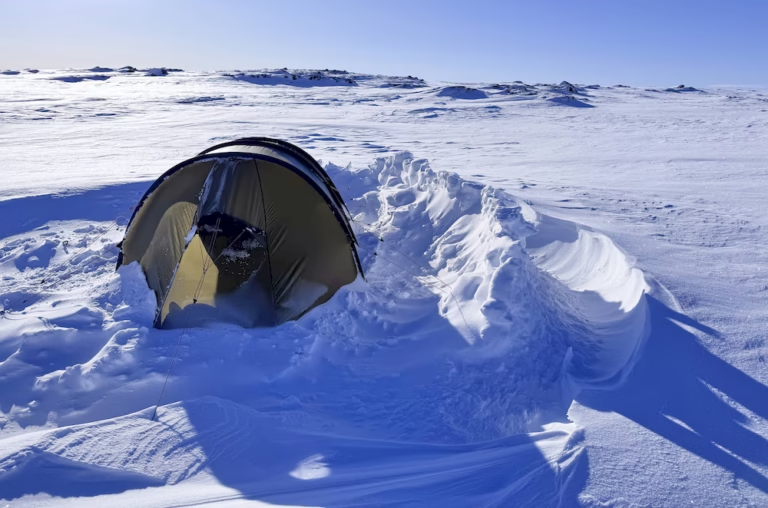
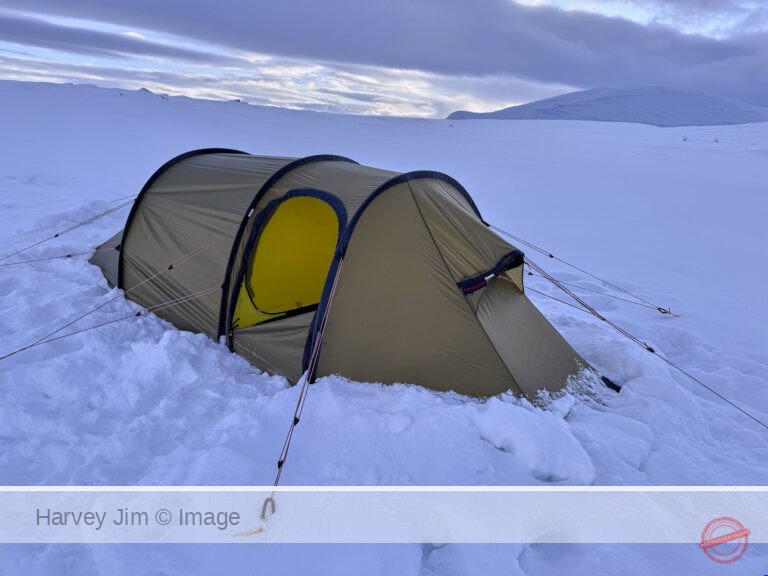
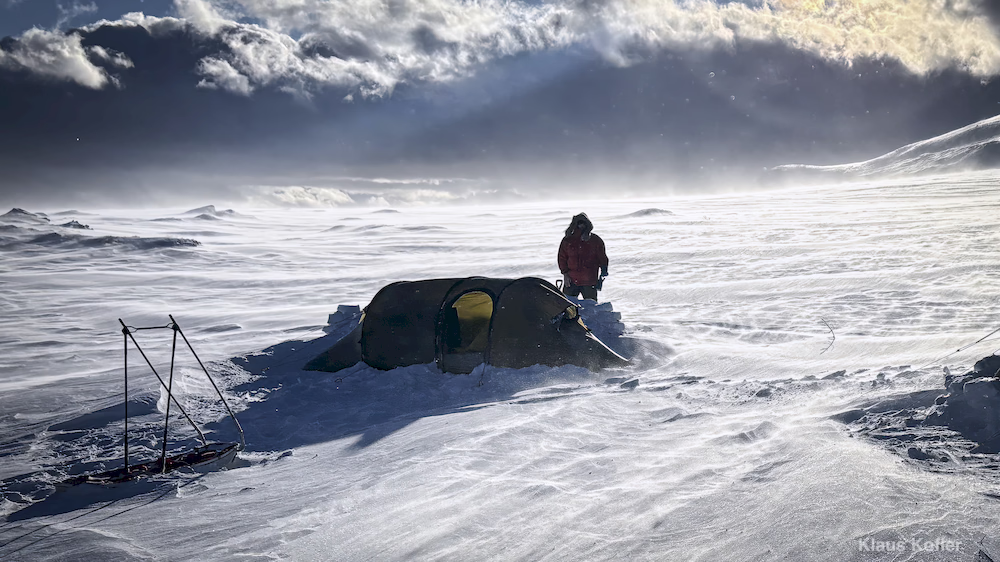
The first piece of gear I focused on was the tent. If your tent collapses, blows away, tears to shreds or breaks a pole, your comfort and perhaps your health and welfare might easily be at risk. It doesn’t take long to conclude that one of the most well-respected brands out there for four season tents is Hilleberg, a Swedish company. They are invariably heavier by spec than their US brethren, but they spec their tents with everything necessary to set them up and sustain them – lots of US brands only weigh the tent (excluding the fly, poles, repair kits or stakes, or some combination thereof). I love this transparency and honesty, except, they often overstate the number of people the tent can accommodate, particularly in winter camping. I own a Hilleberg Nammatj3GT, which is supposedly a three-person tent with a large vestibule. It is big enough for one person on a winter trip, would kind of work OK for two, but no way (other than an emergency) does it work for three. I noticed this same issue with several other Nordic brands. Hilleberg makes multiple winter tents of varying styles, but the ones most often encountered (with good reason) are their tunnel tents. They are EASY to set up (critical if the wind is screaming and the temp requires gloves) and quite robust. The stories are amazing as to what these things can handle (including Everest and the north and south poles); I was in winds conservatively estimated as at least 30 mph/13 m/s with gusts well above that and never felt even slightly at risk. They are also easy to sell on the used market at not much of a discount.
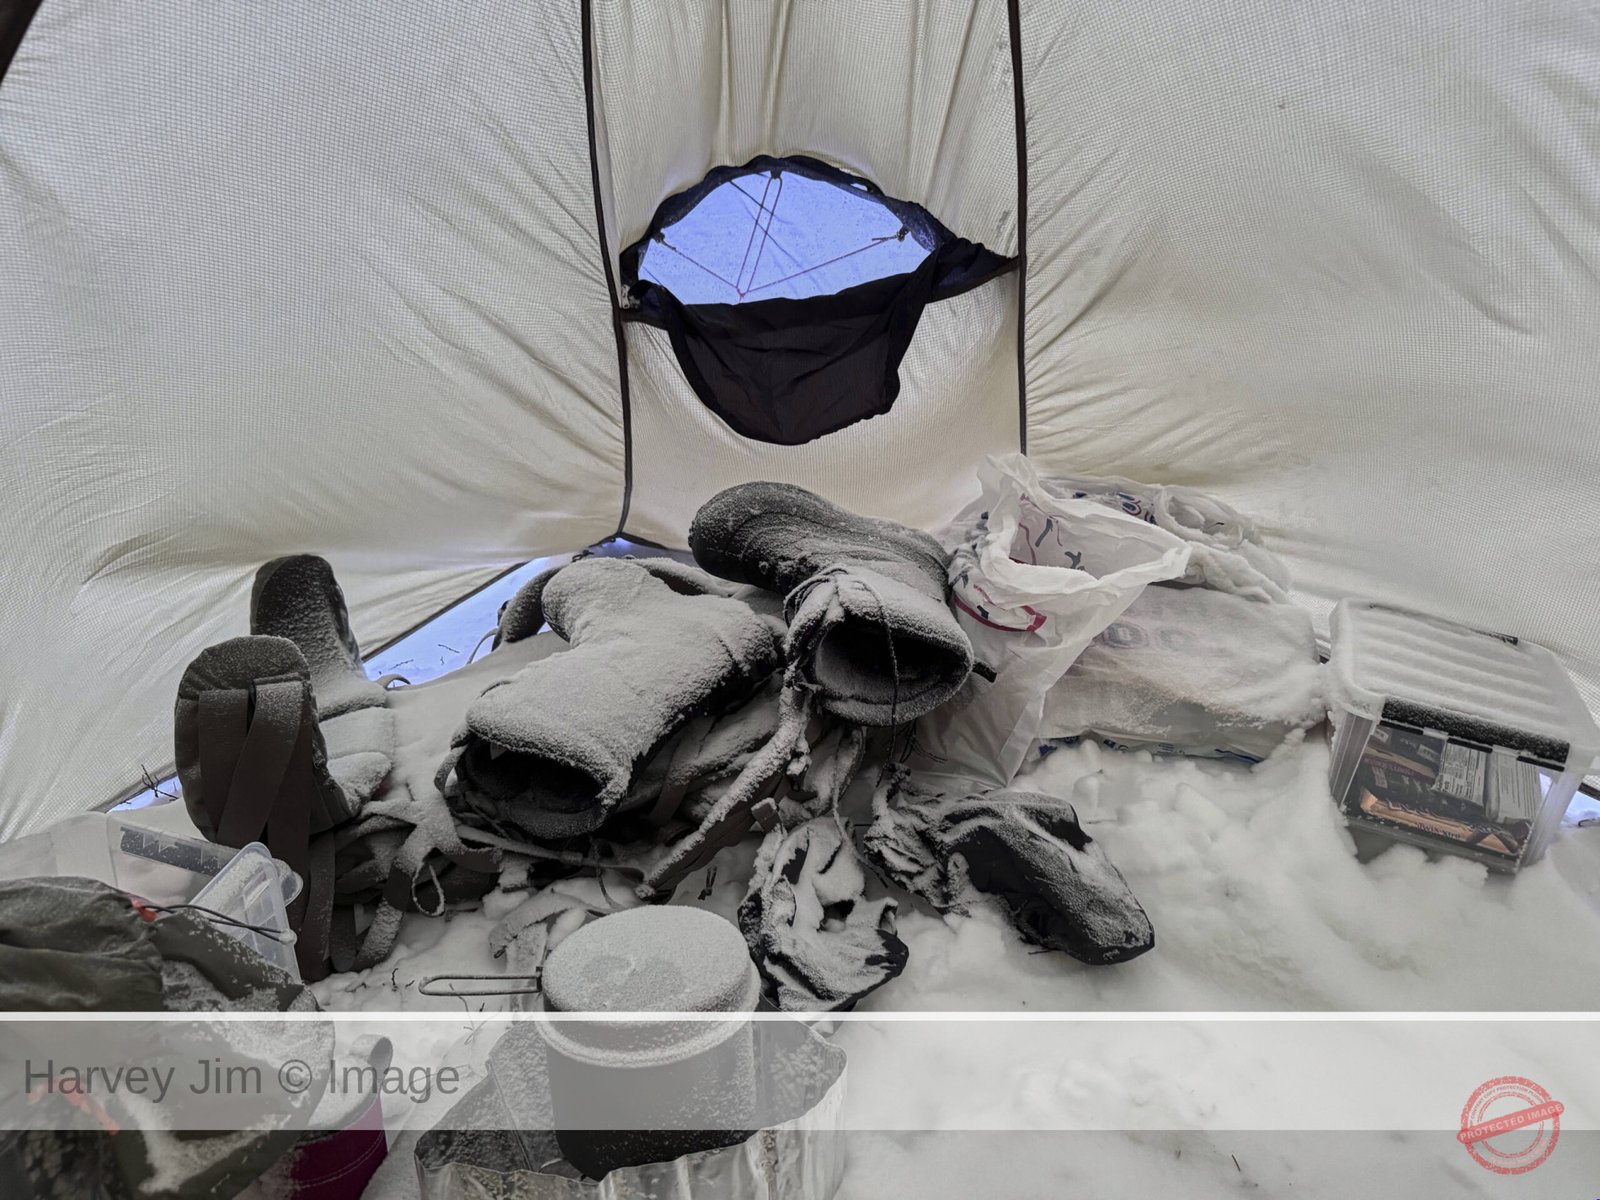
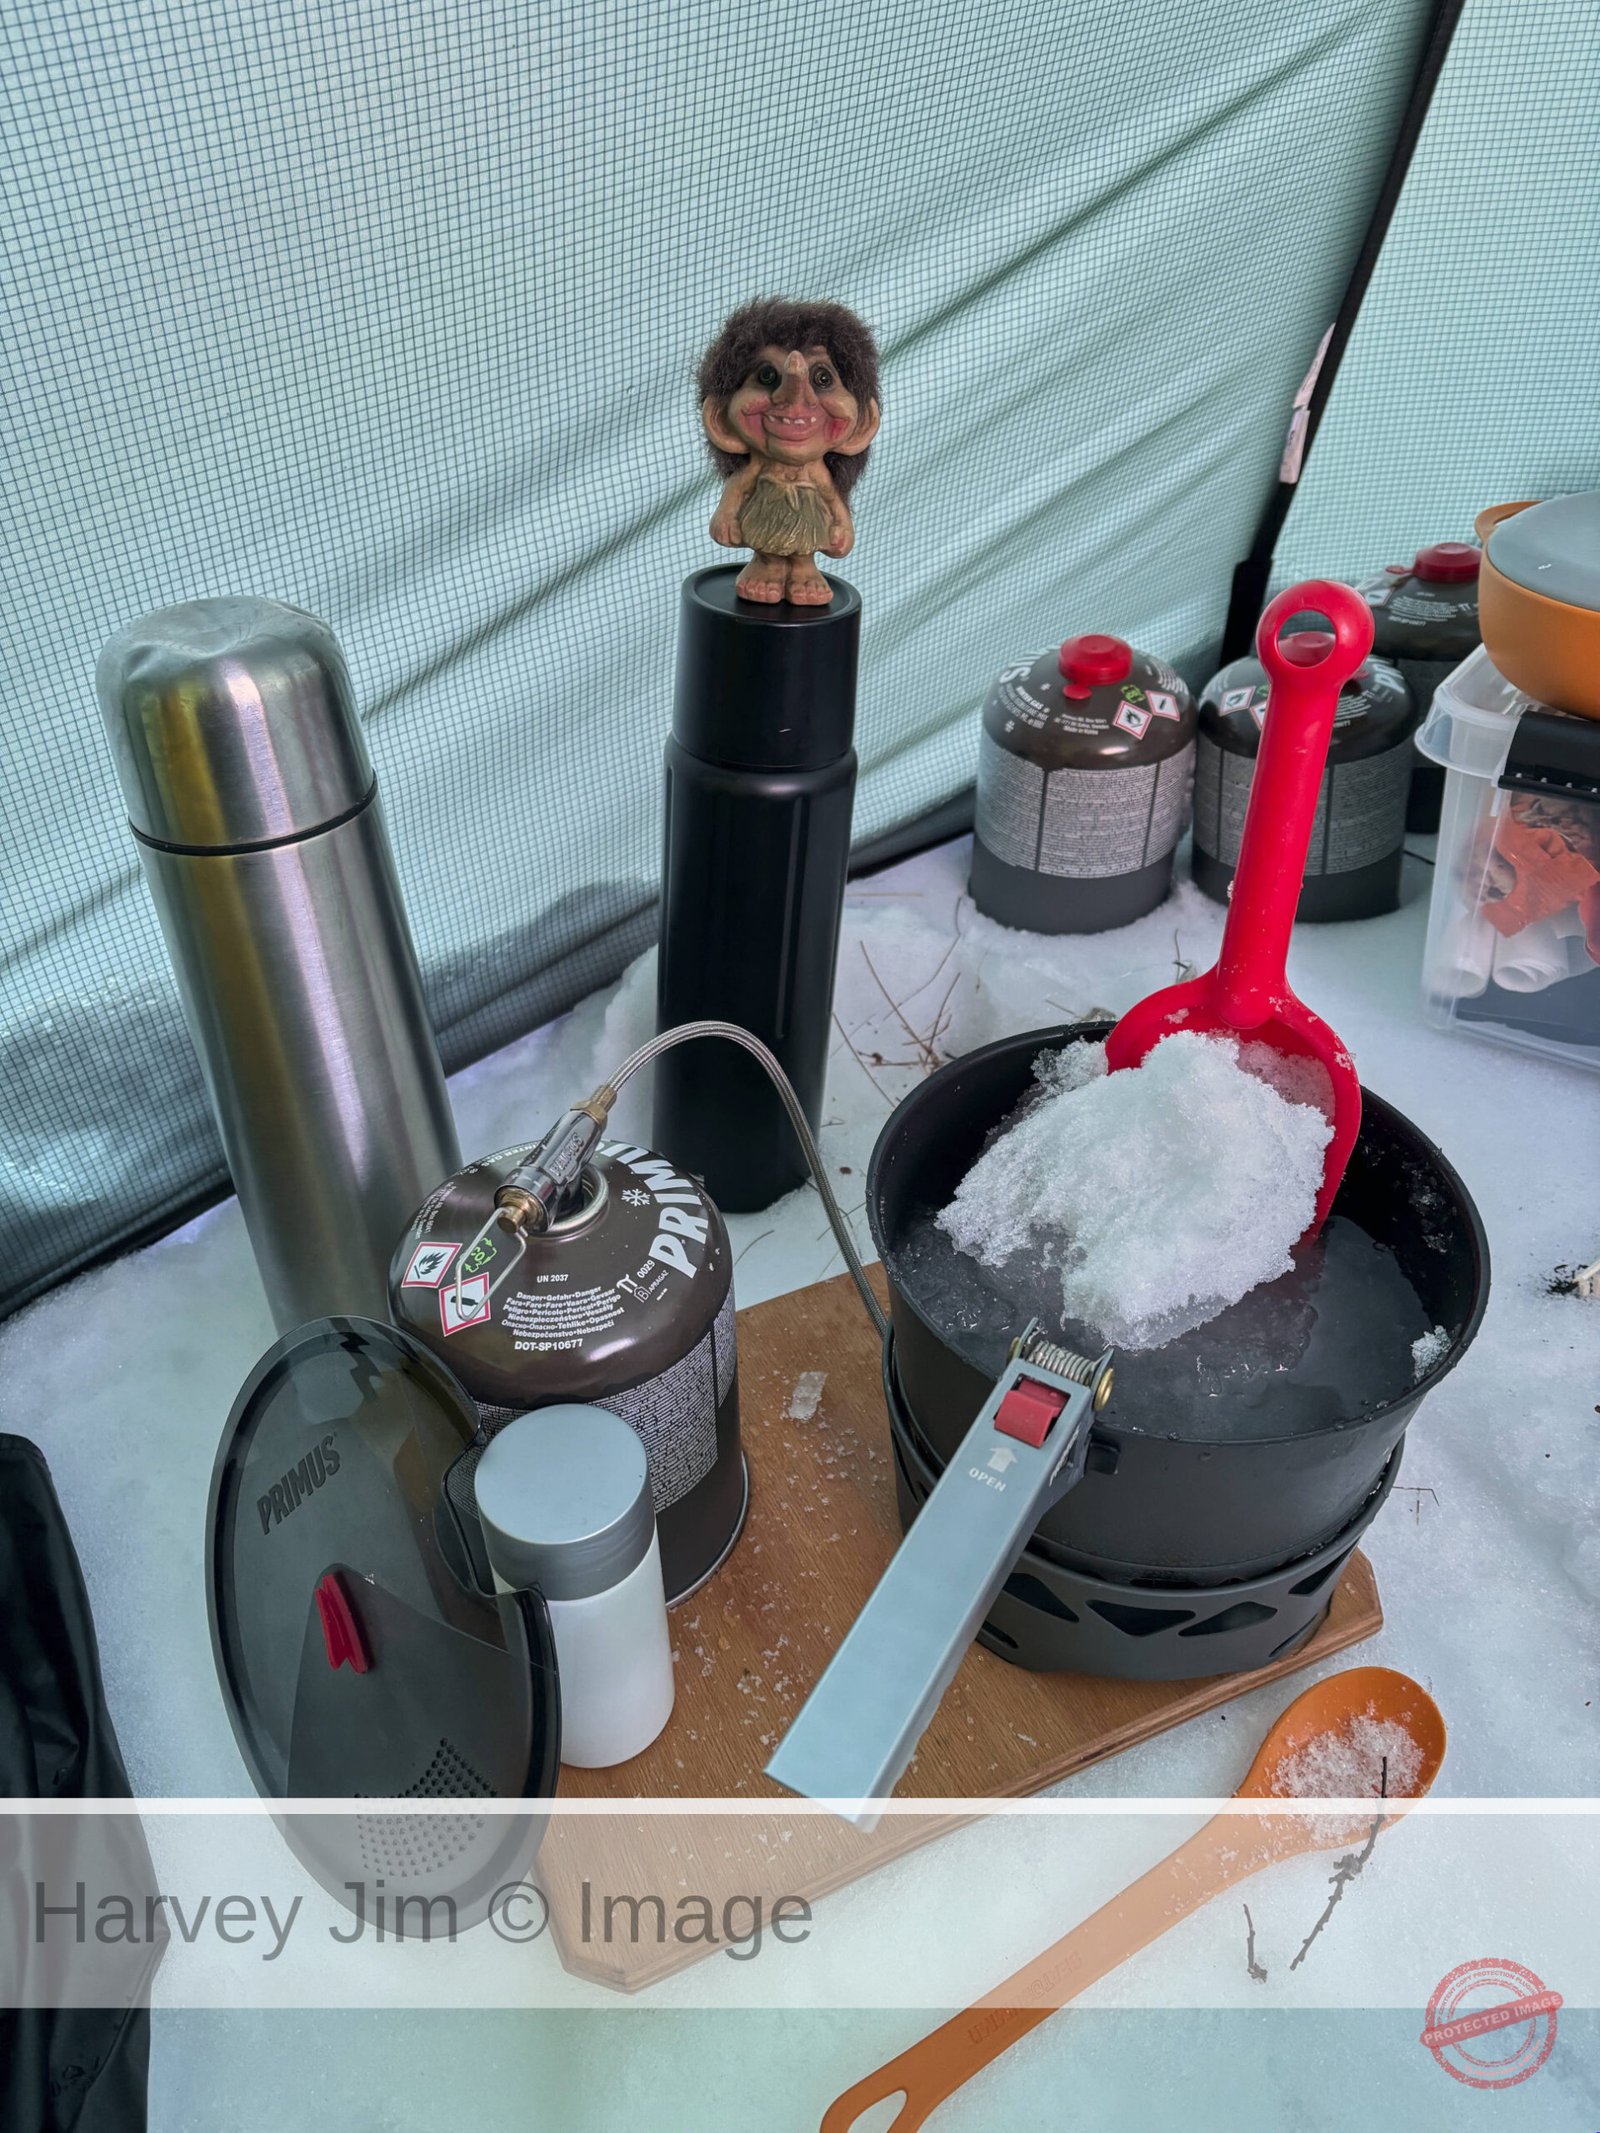
Scenes from a vestibule, one neat and tidy and one a disaster
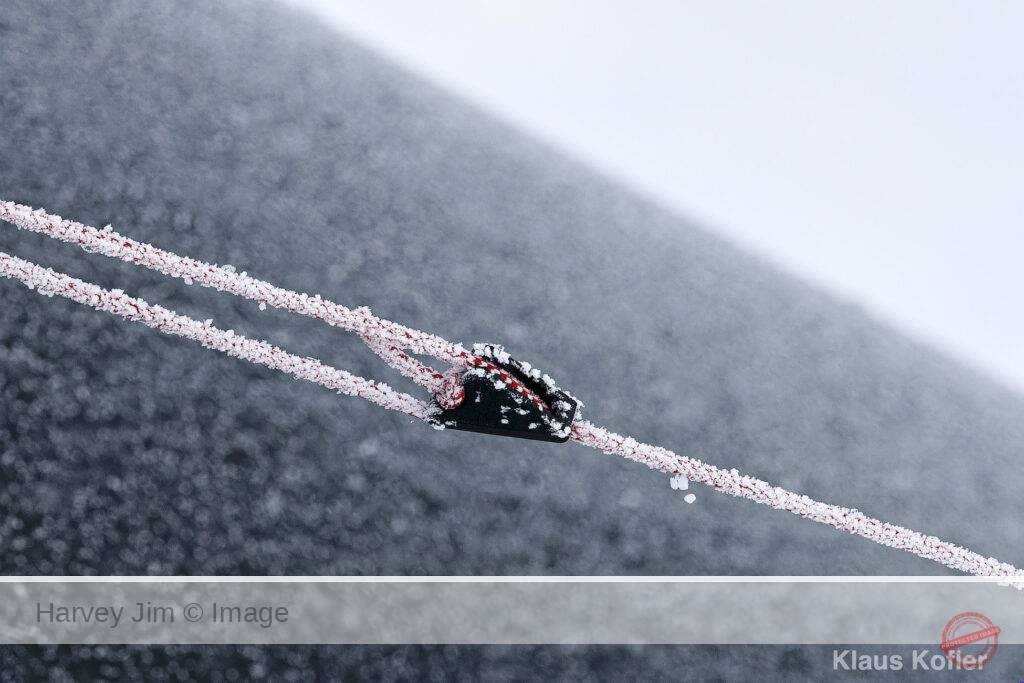
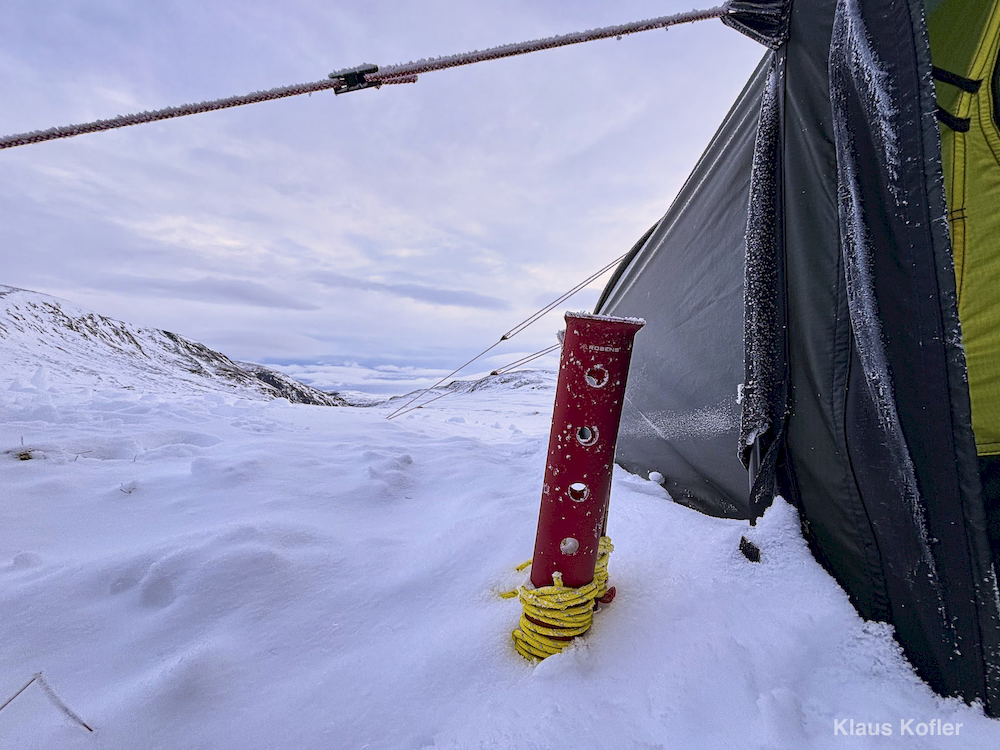
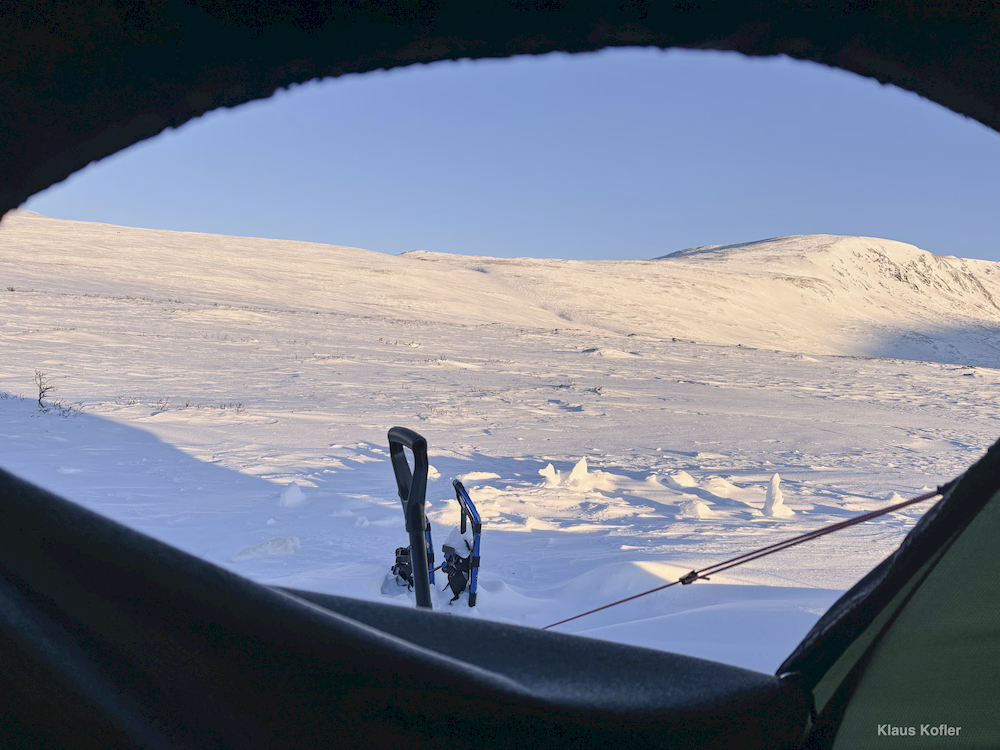
There are so many things I love about the Nammatj, including the fact that it only requires three poles and they are all the same length (it is impossible to confuse which pole goes where, even in an arctic gale), the inner tent wall and the outer tent go up at the same time (avoiding a windy dance with an outer fly, as is so often the case with tents made by US manufacturers), the build quality (zippers, seams, floors, etc.) is off the charts – if there is a storm strong enough to rip this tent or break one of its poles, I don’t want to be there. For a great review of the Hilleberg Nammatj, go here. The downside though is that it requires multiple pegs and guy lines to pitch – it ships with 22 summer pegs, but this is a proper winter tent we’re talking about. Those summer pegs are practically worthless in the winter – one needs something longer and fatter that will gain some purchase in the snow (like this). In fact, you generally have to attach the guy line to the stake (there are all sorts of methods to do this) and then bury the stake in the snow and let it freeze (sometimes called a deadman). You can also use skis / ski poles / snowshoes or large sticks (if available) or something else that creates a solid anchor so that the guy line withstands the stress. Once this process is complete and the anchor is frozen, you will be amazed at the strength that it provides (and requires to remove). The number of guy lines also increases for a proper pitch in the winter – while it varies some, you likely need at least six if not eight guy lines (each of which requires a solid anchor) for a stable pitch. All that said, anchors of some type buried in the snow and multiple guy lines are just part of the winter gig and required for every winter tent one might choose.
Condensation - it's a thing
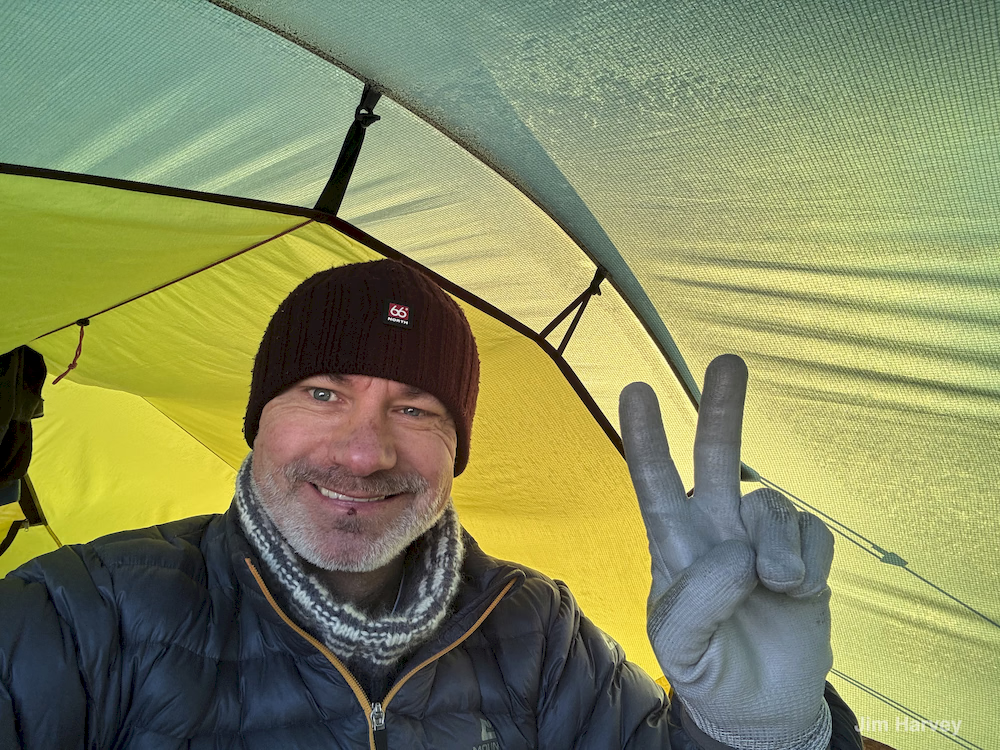
One can’t talk about tents and winter camping without discussing condensation. Humans emit a lot of moisture (just hold a mirror up and breathe heavily on it), and then we cook and boil water and bring wet stuff into the tent (e.g., damp socks, long underwear, etc). When that happens, a cloud of warm moisture forms inside the tent and when that hits the cold tent wall, the moisture is released and turns into water droplets. Of course, if it’s cold enough, those water droplets turn into ice. More moisture inside the tent combined with colder temps outside creates more of a chance for condensation. It is just a chance though because if you keep enough air moving through the tent to evacuate the moisture, condensation is minimized or eliminated entirely. Every four-season tent is designed to ventilate for condensation purposes (some more effectively than others). Double wall tents (such as the Nammatj and many others) help because the layer of air between the two walls creates a bit of a ventilation path and that inner wall is somewhat warmer than the outer wall. Tunnel tents are designed to be pitched with one end into the wind so that the air passes through them and takes the moisture out through the other end. Dealing with condensation in practice is simpler than it sounds, but it is a real issue that has to be effectively managed to avoid a bunch of damp and potentially frozen gear. So, it’s best to keep the tent well ventilated and the temperature virtually as cold on the inside of the tent as it is outside. The sleeping bag keeps you warm overnight, not the tent. Sounds like fun, huh?!?!
The Sleep System - Pads, Liners, Bags and More Bags
Sleeping in really cold weather requires an entire system, not just a sleeping bag on bare ground. You’re generally on a foot or two of snow, which might be on top of a foot of ice which makes the pad(s) underneath the sleeping bag as important as the bag itself. Those pads lift you off of the ice cube and make things much warmer. There are all kinds of theories and opinions on sleeping pads, but most backpackers in lower latitudes use inflatable pads. In extreme conditions though, one has to be prepared for an inflatable pad to spring a leak, which makes many arctic adventurers not use them at all in favor of open or closed cell foam pads. Of course, the downside of foam pads is that they take up a lot of space in your packed gear. I hedge my bets and use a Thermarest NeoAir XTherm NXT in combination with two closed cell pads.
When you crawl into the sleeping bag, you continue to emit moisture while you are sleeping. And that’s when condensation and moisture management comes back into the picture. Over the course of multiple days, this moisture can condense on the down insulation (if you have a down, rather than synthetic, bag) and cause it to lose its loft, which reduces its warming capacity. Let this get bad enough, and you are sleeping quite cold when just a few days ago, you were toasty warm. There are several ways to address this phenomenon, including drying the bag in the frigid air (be sure not to let it blow away!!) or using a vapor barrier liner that goes between you and the bag. This keeps your body’s moisture from entering the down insulation even though, yes, it feels a bit like one is sleeping in a trash bag. I use the Western Mountaineering HotSack VBL which provides a moisture barrier liner, but adds a reflective layer that reflects your body heat, rather than letting it escape. The Hot Sack VBL adds approximately 10F in warmth to my bag. I appreciated it anytime it gets colder than about 0F/-18C, but if it is warmer than that, the VBL can be too much. There are those that say it is overpriced for what it is, but wow – I have had such great experience with it, it is a permanent part of my winter kit.
And thus we reach the sine qua non of the sleep system, which is the sleeping bag itself (or, in this case two sleeping bags). Many adventurers use “mummy” style sleeping bags that are form fitting, wider at the shoulders than at the hips and footbox. The close fit is intentional – minimizing both empty air space that leads to temperature loss and the weight of the bag via its trimmer dimensions. In fact, mummy bags can be so form fitting that I feel as if I am in a strait jacket (not kidding), so I avoid them. Plus, I am a side sleeper and toss and turn all night – that is difficult enough in a regular bed, much less in a tight sleeping bag. So, I prefer a semi-rectangular bag that is heavier by comparison, but also provides more room to toss and turn and much more comfort for me. The point is, after all, to get a comfortable night’s sleep.
After weeks of research, I decided that the bag that best fit my purposes (may not fit yours) was the Western Mountaineering Sequoia, which is rated down to 5F/-16C (sleeping bag ratings are an entirely separate issue I won’t address here, but be sure you understand them and most of all, be sure to test your gear before you go). I had extra down added to mine to take the temperature rating down to about 0F/-18C. The Sequoia has an internal collar and an ample hood, so that you can cover your head and neck and minimize cold air entering and warm air leaving the bag. It also has a separate zipper at the foot of the bag because, if you’re like me, your feet get hot and that footbox zipper avoids having to open the entire side of the bag just to remove socks or create some ventilation. Another magical thing for me about Western Mountaineering bags is that their zippers simply do not snag on the surrounding material – which can be a total pain in the ass to deal with at any time, much less in the middle of the night. Western Mountaineering also ethically sources their down – if you just had visions of a live goose being plucked for its down, check this issue before buying a sleeping bag or anything with down in it. All of this makes for a more expensive bag, but it is worth it to me, and it’s a bag that will serve me well for many years to come. That, however, is not the end of the story on sleeping bag(s) in really really cold weather.
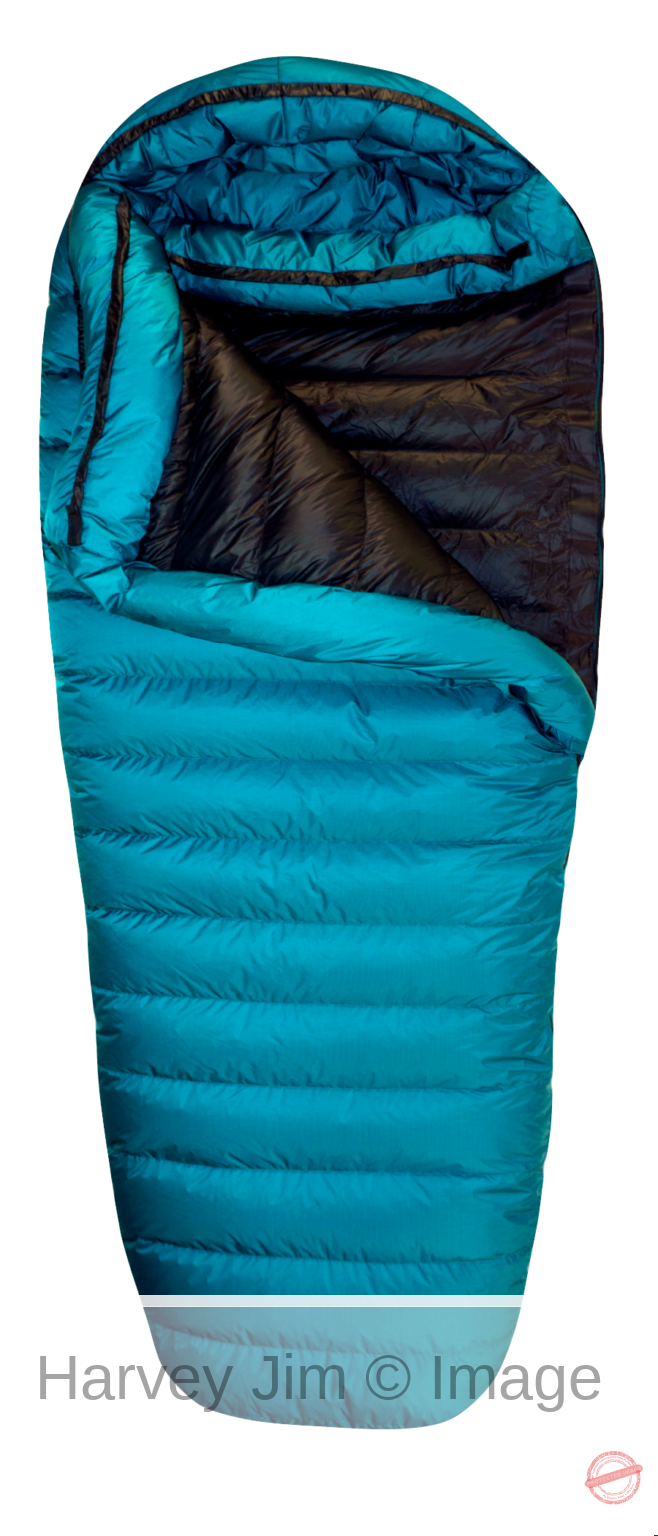
Surprise – it might get colder on a trip than the comfort rating of your bag! Plus, you might sleep colder than your bag is rated on any given night (due to hunger, dehydration, body composition, etc., et al). In order to create additional warmth and deal with the condensation/moisture issue, you can add a synthetic bag outside of the down bag. The synthetic outer bag allows the moist air to escape the down layers, but critically, that damp air reaches the dew point inside the synthetic bag, rather than in the down bag (moving the moisture into the synthetic insulation which is easier to dry). Another benefit of the overbag is that if you do get condensation inside the tent, it falls on the synthetic bag – critically not on the inner down bag. I chose the Halite Overbag Pro for this purpose, which provides an additional 15F/10C of warmth (approximately). The Halite is purpose built to serve as an overbag, although any bag of sufficient size would do. The Halite has multiple zippers that allow you to adjust your ventilation (and warmth) and it is sized large enough to accommodate the inner bag. For yet another layer, I use the VBL AND the overbag when temps are well below 0F, but I do not use that combo with nighttime temperatures above 0F. While buying two sleeping bags rather than one might seem like economic excess, it actually allows you to buy a down bag that you can use on its own in all but the coldest temperatures and then leverage that bag even further when it is super super cold by combining it with an outer bag and/or a VBL. The synthetic bag also makes a nice summer/fall bag (depending on where you are); overall, this was a way more economically efficient and flexible combination compared to one uber warm bag (that is comfortably used only at those very very low temperatures).
Despite all of the research and planning and money, there is no escaping the fact that you end up sleeping on or in some combination of two closed cell foam pads, one inflatable pad, an inner down bag, a synthetic over bag and potentially a vapor barrier liner. That’s a lot of shit to deal with when you just want to get a good night’s sleep. It’s even more cumbersome and uncomfortable if you happen to be on an uneven pitch (either head to toe or side to side, or both) and even moreso if you twist and turn all night long. But, if you’ve been slugging up and down mountains all day and you can barely lift a finger or a foot, and it’s cold, dark and blowing, when you crawl into that tent and then into that sleep system — it’s calm, warm and soft, and it is simply one of the best feelings ever. I highly recommend it.